Posted by Elegant Nails & Beauty by Sue on
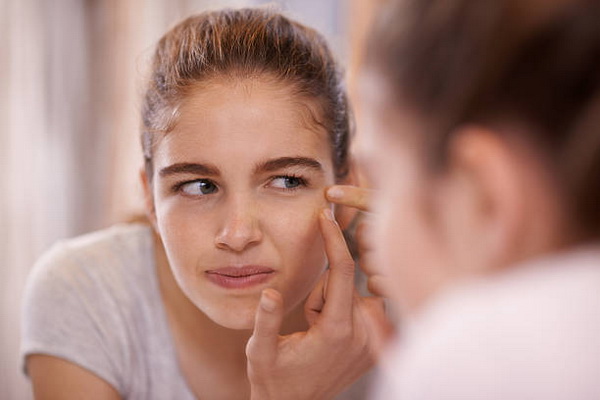
Retinol. It’s the undisputed necessity in skincare, famed for its power to smooth fine lines, clear acne, and boost collagen.
However, this powerhouse ingredient requires a careful, gentle introduction. If beginners jump in too fast, they risk redness, flaking, and irritation—often referred to as the dreaded “retinol uglies.”

If you’re ready to introduce this game-changer into your skin care routine, here is your essential guide to the Do’s and Don’ts of using retinol safely for the first time.
The DO’s: Your Retinol Success Plan
1: Do start low and go slow
This is the most critical rule for retinol beginners.
Start with a Low Concentration: Look for products with a concentration between 0.1% and 0.25%.
Start with Low Frequency: Begin by applying retinol just once or twice a week, preferably on non-consecutive nights (e.g., Monday and Thursday).
Increase Gradually: After 2–4 weeks, if your skin tolerates it well (no excessive flaking or burning), you can increase to every other night. It can take months for your skin to fully adjust.
2: DO apply Retinol to completely dry skin
Applying retinol to damp skin can increase its absorption rate too quickly, leading to greater irritation.
After washing your face, wait 10–20 minutes to ensure your skin is completely dry before applying your retinol product. This helps buffer the ingredient.
3: DO follow with a simple moisturiser
Retinol is a known drying agent. Always follow its application with a supportive, non-irritating moisturiser.
Choose a simple, restorative moisturizer free of active ingredients like AHAs, BHAs, or Vitamin C.
Look for calming ingredients like ceramides, hyaluronic acid, or squalane to repair and strengthen your skin barrier
4: DO use Retinol only at night
Retinol is photosensitive, meaning it breaks down when exposed to sunlight, making it ineffective. More importantly, it makes your skin highly sensitive to UV damage.
Nighttime use: Apply Retinol only as part of your evening skin care routine.
Daily SPF is Non-Negotiable: This goes without saying: you must apply broad-spectrum sunscreen (SPF 30+) every morning, without fail, to protect your newly sensitive skin.
The DON’TS: Avoiding Irritation and Damage
1: DON’T combine Retinol with other harsh actives
In the beginning, keep your routine as simple as possible.
Layering too many strong ingredients will almost guarantee irritation.
Avoid on Retinol nights: Do not use AHAs (Glycolic Acid, Lactic Acid), BHAs (Salicylic Acid), or Benzoyl Peroxide on the same night you use retinol.
Alternate them on different nights.
2: DON’T apply directly to sensitive areas
Certain areas of the face are thinner and more sensitive, making them prone to burning and peeling.
Avoid: The delicate skin directly under your eye, the corners of your nose, and the corners of your mouth. For the eye area, use a dedicated retinol eye cream formulated for sensitive skin.
3: DON’T wash Retinol off (unless you have a reaction)
Once Retinol is applied, it needs time to work its magic. Washing it off prematurely will reduce its effectiveness.
Exception: If you experience immediate, severe burning or discomfort, wash it off immediately and soothe your skin with a gentle moisturizer.
This is a sign the product might be too strong for you right now.
4: DON’T expect immediate results
Retinol is a long game, not a quick fix. You are forcing skin cell turnover, which takes time.
Be patient: It can take 3 to 6 months of consistent use before you start seeing true, noticeable results like reduced fine lines or improved clarity.
Pushing the product too hard will only cause irritation and make you quit prematurely.
Remember: Treat Retinol with respect. Introduce it slowly, prioritise soothing your skin, and always protect your results with daily SPF.
Stick with it, and your patience will be rewarded with smoother, clearer, more youthful skin!
Retinol Night Skincare Order
The key principle here is cleansing, then actives (retinol), then deep moisture and barrier repair.
1. Cleanse
Start with a fresh canvas. Wash your face using a gentle cleanser
Purpose: Removes makeup, dirt, and excess oil to allow the retinol to penetrate cleanly.
2. Wait (crucial step!)
Wait 10 to 20 minutes until your skin is completely, bone-dry.
Purpose: Applying retinol to damp skin causes it to absorb too quickly and deeply, leading to increased irritation, redness, and flaking.
3. Apply Eye Cream
Apply eye cream (preferably a dedicated one)
Purpose: Protects the delicate skin around the eyes before you apply retinol to the rest of your face.
If you use a retinol-specific eye cream, apply it here.
4. Apply Retinol
Apply Retinol serum or cream
Purpose: The active treatment. Use a pea-sized amount for your entire face, avoiding the corners of your nose, mouth, and sensitive areas around the eyes.
5. Moisturise (The Buffer)
Apply a simple, barrier-repairing moisturiser
Purpose: To soothe and rehydrate the skin.
Look for thick, calming formulas with ingredients like Ceramides, Hyaluronic Acid, or Squalane to reinforce your skin barrier against the drying effects of Retinol.
Pro Tip: The “Retinol Sandwich” (for extra sensitivity)
If you find the above order still irritates, try the “sandwich” method:
Cleanser (and wait 10-20 minutes).
Apply simple moisturiser.
Apply Retinol.
Apply simple moisturiser (another layer).
The two layers of moisturiser act as buffers, slowing the penetration of the retinol, making the experience much gentler for beginners or those with highly sensitive skin.
More Articles from our Blog…
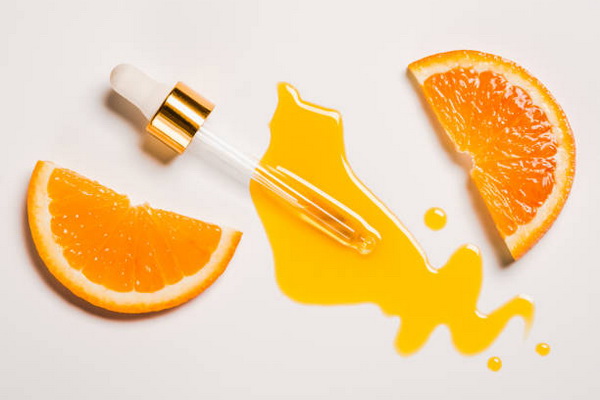
Benefits of using Vitamin C Serum in your skincare routine
There are many benefits of using vitamin c serum in your skincare routine… knowing how to use it properly is…
Conquering the Zit Zone
Conquering the zit zone is not easy, especially when you’re a teenager or when you’ve got your period. Pimples are…

How to look your best after a late night
After a long night of partying, your skin and hair may bear the brunt of excessive celebrating. Follow these 6…